Sheldon wanted to get me a headoard for my birthday and I was so excited. Once we got looking at some online, we got to thinking - we could totallymake this!! So here goes.
 | |
| Before |
Thanks to pinterest, I found some really great DIY headboard tutrials, so away we went! The headboard took us 2 hours from start to totally finished - that's because our girl-ies were having a dinner date with Uncle James & Auntie Anna. Thanks J&A! We did the wood section of the wall and the chandelier the next day.
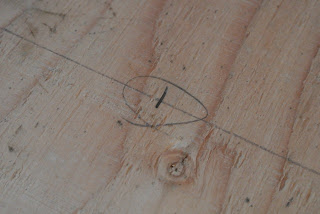
Then measure, mark and drill where you want the buttons to be
Then use a spray adhesive and lay foam on the plywood
Next, lay batting and cover the foam, and staple in place. Trim Excess.
Then... do the same with your upholstery, long sides first, then the short sides, corners last.
Then pull your buttons thru and your done!! Here's the almost-finished project
And .... DONE!!!


1 comment:
LOVE it! Great job!
Post a Comment